
Reduce use of the affected storage first. Installing software, downloading files and continuing ordinary work can overwrite data that might otherwise remain recoverable. A scan is an attempt, not a promise. This guide explains Microsoft's documented workflow and worked command examples; it does not report a recovery experiment or a success rate.
The short answer
Check before you scan
Choose the appropriate route and protect the source from unnecessary writes.
- Identify the missing copyCheck whether the missing file was actually stored locally. A cloud-only file or a network share requires a different recovery route.
- Prepare a separate destinationWrite results to a different destination. Do not create a new partition on the affected disk just to make room for recovery.
- Verify the recovered contentUse a narrow filter, inspect the output and open the recovered files before treating the job as successful.
Choose the recovery route before the command
A file missing from a folder can mean several things. It may be in the Recycle Bin, moved to another folder, deleted from a synchronized service or absent because a different Windows account is open. Establish its last known location and the event that preceded the loss. That gives you a source to investigate instead of scanning whichever drive happens to be called C:.
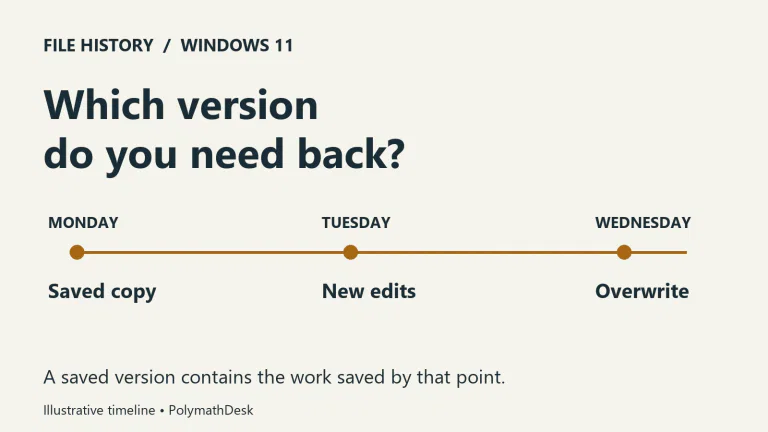
If you previously enabled File History, Microsoft's restore instructions show how to inspect earlier folder versions and restore to another location. Check the date before replacing anything. A verified older copy is a more direct recovery route than searching unallocated space for fragments.
For OneDrive, check the service's web view and recovery options. An online-only item does not establish that the full file ever existed on this drive. Our guide to OneDrive downloads and cloud files explains why freeing local space differs from deleting a synchronized item. Microsoft's Windows File Recovery documentation excludes cloud storage and network file shares from its recovery scope.
If Windows asks for a BitLocker recovery key before the volume can be read, address that first. A file-recovery command does not replace the key. Use the matching identifier and the recovery locations explained in our BitLocker recovery-key guide. For a device that is repeatedly disconnecting, making unusual mechanical sounds or holds uniquely valuable data, obtain specialist help before repeatedly stressing it with scans.
Identify the source and prepare somewhere else for results
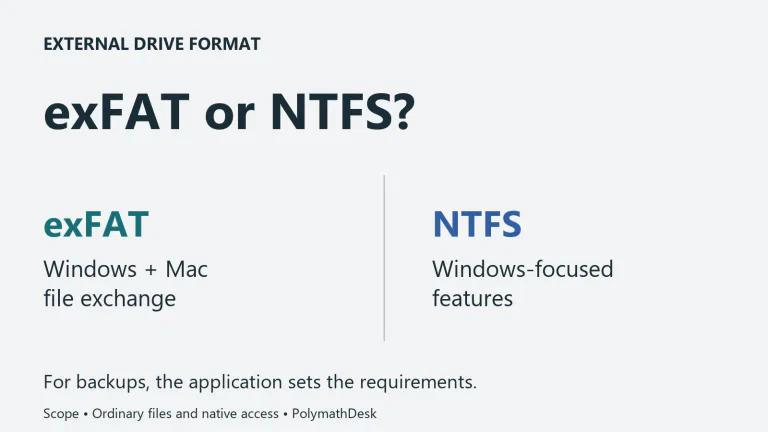
In File Explorer, find the volume where the files were stored. Check its label, drive letter and Properties, including the file system. A USB stick is not necessarily FAT or exFAT, and an external disk is not necessarily NTFS. Use the displayed value rather than guessing from the device's shape or capacity.
Connect a separate destination with enough free space for the expected results. It should not be the location that lost the files. Microsoft's instructions specifically warn against creating a new partition after data loss. For a person with just one internal drive, an additional external drive is a clearer destination than rearranging the affected disk.
Write a two-line note before proceeding: “lost files were on C:” and “recovered files will go to E:”, substituting your actual letters. Confirm them again after attaching devices because the letter assignment is part of the command. A folder named Recovery on C: is still on C:.
Get Windows File Recovery through the Microsoft Store link in the official documentation, open the app and allow the requested elevation. Installation itself creates writes; if the source is the system drive and the data is irreplaceable, consider expert assistance before continuing on that computer. Do not download similarly named third-party utilities assuming they are the Microsoft application.

Match Regular or Extensive mode to the source
Use /regular for a recent deletion on a healthy NTFS volume. Use /extensive for FAT or exFAT, and for the older-deletion, formatted-NTFS or corrupted-NTFS cases listed in Microsoft's mode table. These are recovery modes; you do not format a disk to prepare it for scanning.
“Recent” is not a promise measured by a fixed number of hours. A busy system can write to free space quickly. If a correctly targeted Regular scan finds nothing useful, Extensive can be a reasonable next attempt on a readable source, but changing the switch cannot undo overwriting.
Keep the first scan specific enough to review. A folder, a known filename or a couple of extensions is easier to inspect than every recoverable item on an operating-system volume. If a filter turns out to be wrong, adjust that known mistake rather than immediately adding advanced switches from several unrelated tutorials.
Use examples with explicit drive letters and filters
The following are worked syntax examples. Replace the letters and paths with your own values. C: is the source and E: the destination in the first two examples; the third uses an F: source. Check the installed tool's supported syntax with winfr /? if its behavior differs from the documentation.
Recently deleted PDF and Word documents on NTFS. Search C: and place results on E:. Two filters allow either extension; they do not mean that a file must have both.
winfr C: E: /regular /n *.pdf /n *.docx
One document with spaces in its path. This example looks for Quarterly Statement.docx inside the Documents folder belonging to Alex. The double quotes keep the path together. Alex is a concrete example folder name, not the name of every Microsoft account.
winfr C: E: /regular /n "\Users\Alex\Documents\Quarterly Statement.docx"
Confirm the old folder's actual path. Documents may have been redirected into OneDrive or another location. A perfectly formed command pointing at the wrong folder can miss the wanted file. To target an entire folder, Microsoft's examples use a trailing backslash; preserve separators when copying a command from a webpage.
JPEG photographs on an exFAT card. If File Explorer identifies the card as F: and the separate destination as E:, use Extensive and include the extensions your camera actually used.
winfr F: E: /extensive /n *.jpg /n *.jpeg
Read the source and destination again before accepting the prompt to continue. During the scan, avoid other work involving the source. Windows File Recovery creates a dated Recovery folder on the destination; use it to inspect the results. Cancellation stops the attempt, rather than putting missing files back in their original folder.
Check the recovered content before declaring success
Start with the files that matter most. Open a document and check its pages, view a photograph at full size, play a video beyond its opening frame and test an archive's contents. A familiar extension and plausible size do not prove that all bytes belong to a usable file.
Compare against what you know: expected date, subject, project name and approximate size. A scan can produce older versions or unfamiliar names. If a project opens but reports missing assets, its main file was only one dependency. Keep the recovered material separate while establishing which version is complete.
Once verified, copy the useful results into your normal working location and independent backup plan. Preserve the recovery output until that second copy has been checked. If you still need more from the source, avoid repurposing or filling it simply because the first important document was recovered.
Respond to a failed attempt without making the source worse
No files returned. Recheck the source, file system and filter. A wrong username folder or extension is a different problem from overwritten data. If the path is uncertain, an extension-only filter may be more appropriate. On a suitable NTFS source, try Extensive after an unsuccessful Regular attempt.
The destination is full or is the same partition. Fix the destination choice. Free space on the separate output device or use a larger one; do not delete more from the source. The command needs an actual separate storage destination, not another label for the affected location.
Files exist but do not open. Treat them as unverified results. A different retained backup may be more useful than another scan. Microsoft's recovery FAQ notes that overwriting can prevent recovery, particularly on SSDs. There is no dependable percentage to infer from how recently you pressed Delete.
The command is unavailable. Confirm that you installed and opened Microsoft's app. On a managed computer, ask the administrator about installation or permission restrictions. Do not weaken device security to run a tool from an unverified download site.
If the remaining data matters enough to justify professional recovery, stop further experiments and describe what happened, which device was involved and what you already tried. Afterwards, use a backup plan with a tested restore route to give the next incident an alternative to undelete software.