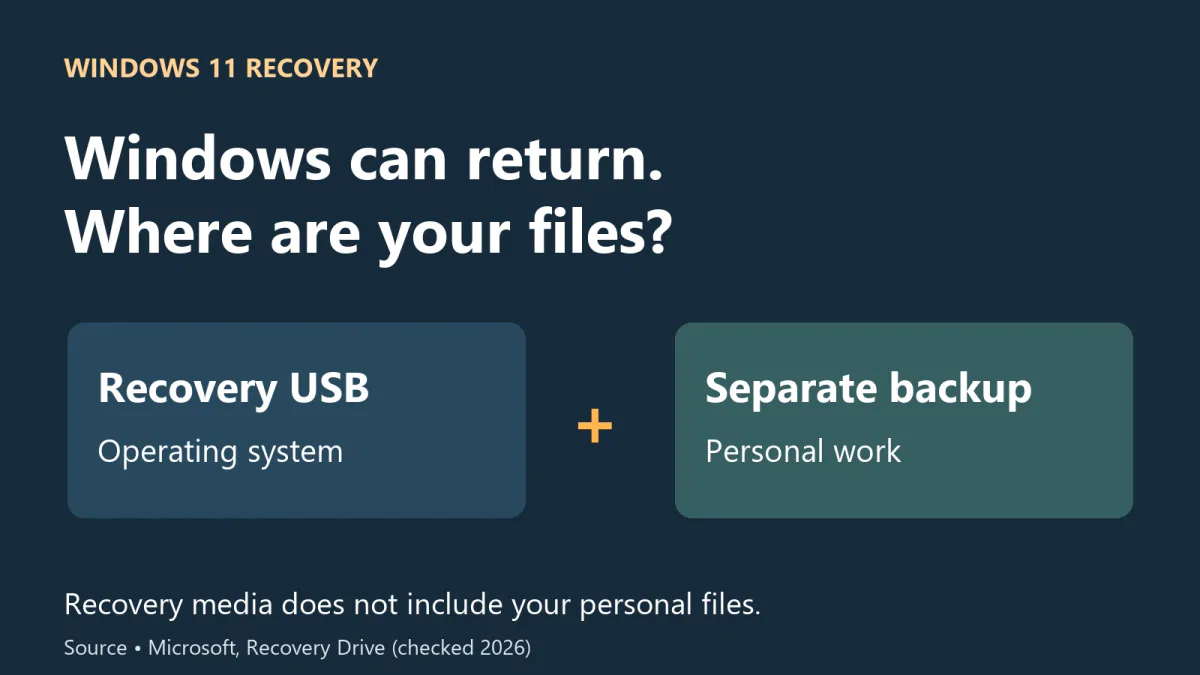
Three things are often confused: media that starts recovery, an image that captures an earlier system state, and a backup that holds personal files. The practical question is what you will have after each route finishes. This guide compares the current Microsoft documentation; it does not report a hardware-failure or reinstall test.
The short answer
Prepare the operating system and the work separately
Start with the result you need.
- Recovery USBUse it for the intended PC’s Windows recovery route.
- Independent filesKeep documents, projects and application exports in another verified backup.
- Before recoveryKnow which operation will erase data and where the surviving copy is.
What goes on a recovery drive
Microsoft’s Recovery Drive documentation describes Windows system files, updates present when the media is created and manufacturer customizations. It recommends refreshing the media annually. The result is not a current copy of every file and application you added to the computer.
Think of a hypothetical laptop that has acquired a photo collection and a bookkeeping program since purchase. Restoring its operating system and manufacturer setup would not establish that the photo collection, the current database or the program licence had returned. Those require their own retained data and recovery steps.
Create the USB while the intended PC is working
Choose an empty USB drive and check its label and capacity: creating recovery media erases that USB. Open Recovery Drive from Start, or run recoverydrive.exe. Keep Back up system files to the recovery drive selected, follow the tool’s size requirement, select the intended USB and create the media. These are Microsoft’s documented creation steps.
Avoid selecting a drive by letter alone when several devices are attached. The drive you use for personal backups should not become the accidental destination for a tool that erases its target. Label the finished USB with the PC and creation date; keep a separate note explaining where the personal-file backup is.
Do not borrow the “8 GB” requirement from a different wizard. Microsoft’s Media Creation Tool instructions specify at least 8 GB for their installation USB. For Recovery Drive, follow the requirement shown for that PC rather than assuming the two tools create the same contents.

Recovery USB, installation media and system image solve different jobs
Recovery drive. Prepared on the intended computer, with the recovery contents described above. It is useful when that machine needs its recovery route even after a drive replacement. Personal work still comes from another backup.
Windows installation media. Created with Microsoft’s download tool to install or reinstall Windows. It is not a saved copy of your documents, apps or manufacturer configuration. Microsoft distinguishes reinstalling from within Windows and a clean installation; do not assume that booting a USB offers the same keep-files choices as running Setup from a working desktop.
System image. A previously created image represents the captured state of the volumes included in it. It needs the corresponding restore process and suitable rescue media. Having a bootable USB alone does not prove an image exists, is current or includes every data drive.
The built-in legacy Backup and Restore (Windows 7) system-image solution is listed by Microsoft as deprecated. Deprecated does not mean that every existing image instantly stops working. It does mean a new backup design should not casually treat that legacy tool as the recommended maintained solution; evaluate a supported imaging tool and its restore procedure if full-system images are your requirement.
Check the route without starting a destructive recovery
If the PC uses BitLocker, have its matching recovery key available before trying a USB boot. Use the PC manufacturer’s boot-menu instructions if you need to check whether the USB starts. Entering a recovery environment and completing a restore are different milestones.
Recover from a drive reinstalls Windows and removes personal files, installed apps and settings from the PC. Microsoft states this in its recovery-options guidance. It is not an undelete operation. On a working PC, stop before starting that recovery; do not erase the machine merely to prove that a menu appears.
Before any reinstall, locate the personal-file backup and open representative files from it. Confirm application-specific exports, installers or account access, and the correct encryption recovery information where applicable. Keep keys privately. The checklist is about being able to resume work, not simply reaching a Windows desktop.
A successful boot check proves only that this media can reach that recovery interface on the tested machine. It does not prove a future restore will succeed, that a replacement drive is compatible or that documents were backed up. Record the exact check rather than marking the entire recovery plan “tested.”
If Windows has already failed
Start with Microsoft’s recovery-options guidance for the actual symptom. A startup problem does not automatically require erasing the machine. If the original drive holds the only copy of important work, address that data before a destructive reinstall; seek qualified recovery help when necessary.
If no recovery USB was created, installation media can be prepared on another working PC. That can provide a route to reinstall, but it cannot retrospectively turn the broken PC’s unsaved files into a backup. Our Windows Backup guide explains what account-based restoration may supply, while Windows File Recovery addresses a different problem: attempting recovery of deleted local files.
Keep the recovery USB alongside a clear route to independent files, application data and account access. Our 3-2-1 backup planning guide helps separate those copies. The useful end state is restored work that opens correctly, not just a bootable operating system.